🌿 Winter Branches Up Close: Micro-Studies for Looseness & Control
- LaLa

- Jan 20
- 2 min read

Winter branches are some of the most underrated practice subjects on the planet. No full trees. No landscapes. No complicated compositions. Just small, delicious textures — bark, twigs, frosty rims, little bursts of lichen — all zoomed in so you can practice looseness and precision at the same time.
Here’s how to turn these tiny “micro-studies” into a January warm-up ritual:
Why Branch Studies Work So Well
• They’re bite-sized. Each study takes 2–5 minutes, perfect for warming up your hand or resetting your brush control.
• They teach texture without pressure. Winter branches have organic, irregular textures — perfect for loose marks, broken lines, and expressive strokes.
• They sharpen edges and timing. Frosty rims, snow sitting on bark, or a single cold highlight force you to practice timing, glazing, and negative painting.
• They improve observation skills. Micro-studies force your eyes to slow down and notice subtlety: cool shadows, soft violets, bark splits, subtle greens.
How to Do a Simple Micro-Study Session
💫1. Pick a small reference area
A single twig. A bend in a branch. A knot in the bark. Zoom in until it feels almost abstract.
🖌️2. Start with loose foundational strokes
These should be soft, misty, and imperfect. Think:
diluted neutrals
muted winter greens
blue-gray washes
soft mauves for cold shadows
Let the brush wander a bit. This is your looseness phase.
📌3. Add controlled marks on top
Once dry, add the details that create structure:
broken bark lines
sharp shadow edges
frost highlights (negative painting!)
tiny lichen patches
those satisfying little branch tips
This contrast — soft base + crisp detail — is what makes the studies sing.
❄️4. Use negative painting for frosty edges
Instead of white paint, carve out the frost with untouched paper or a clean-water lift. This teaches control instantly.
🎨5. Repeat with different color families
Try:
slate greens
cold violets
warm taupes
smoky browns
muted ultramarine mixes
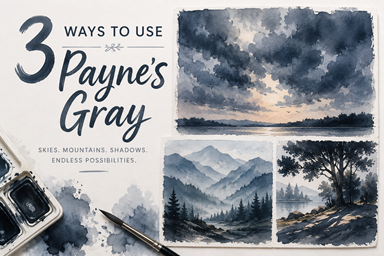
Payne’s Gray softened with water
Same branch, different palette = instant mastery.
🔍What to Look For in Real Branches
Take a quick walk or look out a window — winter branches are everywhere.
Focus on:
✨ Texture
Rough bark, peeling edges, smooth new growth, tiny knobs.
✨ Color
Winter branches aren’t brown.They’re:
Espresso gray
Cool umber
Slate brown
Violet-gray
Blue-shadowed
Olive-muddy in places
Soft beige where light hits
✨ Edges
Some are sharp.Some dissolve into fog.Some glow with frost.
✨ Micro-Shapes
That little hook at the end
The V-split
Bitten-off ends
A single stubborn bud
Snow resting on one side
These details make your practice addictive.
Suggested 5-Minute Study Prompts
A twig with snow sitting along one side

A knot in a branch with tiny shadow pockets

Branch tips catching the pale winter light

A single frosted edge along a dark branch

Why This Makes You a Better Winter Painter
These studies train your hand in:
✔ fine detail control
✔ timing for soft vs. crisp edges
✔ subtle mixing for winter palettes
✔ the confidence to let looseness happen
✔ understanding how light actually hits winter textures
Master these tiny studies, and your full winter scenes — forests, snowy hills, frosty trees — will feel more natural, expressive, and effortless.